Ah, insulation – the unsung hero of home comfort. You’re probably thinking, “Insulation? That sounds like a whole lotta work!” But fear not, friend! Installing Grand River insulation is easier than navigating a lazy river on a summer afternoon. With these 10 easy steps, you’ll be cozied up in no time, saving energy and money like a pro. So grab your toolkit, and let’s get started on this DIY adventure! Your wallet (and the environment) will thank you.
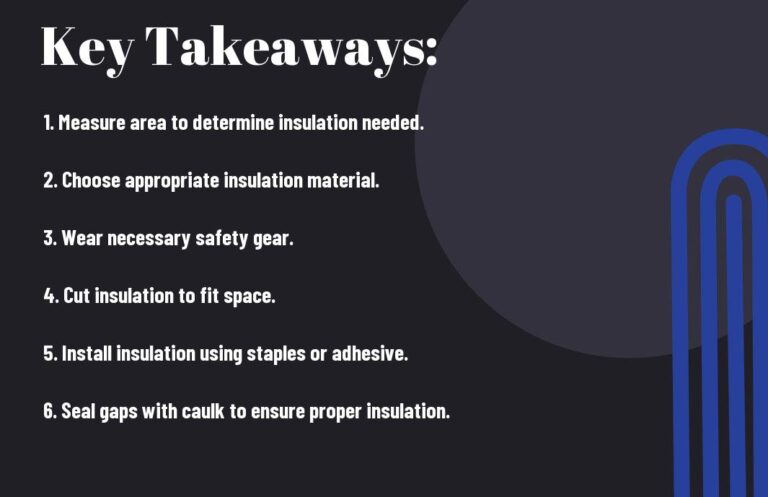
Key Takeaways:
- Prepare the Site: Before starting the installation process, ensure the area is clear of debris, dust, and moisture to ensure a clean and safe working environment.
- Wear Protective Gear: Always wear protective gear such as gloves, safety glasses, and a dust mask when handling insulation materials to prevent injury and exposure to harmful substances.
- Measure and Cut Correctly: Accurately measure and cut the insulation material to fit snugly into the desired space, ensuring a proper fit and maximum energy efficiency.
- Install in the Right Direction: Install Grand River Insulation with the facing side (the side with the paper or foil backing) facing the warm side of the building to ensure proper performance and energy efficiency.
- Fill Cavities: Fill all cavities and gaps with insulation material to prevent air leaks and ensure optimal energy efficiency.
- Use the Right Fastening Method: Use the recommended fastening method for the specific type of insulation and building structure to ensure a secure and long-lasting installation.
- Inspect and Test: Conduct a thorough inspection and testing of the installed insulation to ensure it meets the manufacturer’s specifications and local building codes.
Preparation is Key
For a successful insulation installation, you’ll want to make sure you’re properly prepared before diving in. This chapter will walk you through the vital steps to get you started on the right foot.
Gathering Essential Tools and Materials
Before you start setting up Grand River Insulation, gather all the necessary equipment. Among them, we include a utility knife, measuring tape, gloves, and safety glasses. Do not fail to refer to the manufacturer’s instructions on specific requirements or recommendations.
Preparing the Workspace
An organized workspace is crucial for a stress-free installation. Clear the area of any clutter, debris, or obstructions that could get in your way. You’ll want a clean slate to work with, so take the time to sweep or vacuum the floor and remove any old insulation or materials.
Understanding the importance of a well-prepared workspace cannot be overstated. Imagine navigating an obstacle course while installing insulation – it’s a recipe for disaster! By taking the time to clear the area, you’ll be able to focus on the task at hand and avoid any potential headaches. So, take a deep breath, put on your favorite tune, and get ready to transform your space into a cozy oasis.
Measuring Up
Assuming you’ve decided to take the plunge and insulate your home with Grand River Insulation, the next step is to measure up and determine what you need. This might seem like a daunting task, but trust me, it’s easier than trying to navigate a riverboat through treacherous waters.
Calculating Insulation Needs
Necessities First: you’ll need to calculate how much insulation you’ll require. Don’t worry, it’s not as complicated as trying to figure out the meaning of life. Simply measure the square footage of your attic, walls, and floors, and then consult the manufacturer’s guidelines for the recommended R-value.
Identifying Insulation Types
Kinds of insulation, you ask? Well, there are a few to choose from, but don’t worry, I’ll break it down for you like a gentle summer breeze on a lazy afternoon. You’ve got your fiberglass batts, cellulose, spray foam, and radiant barrier insulation, each with its own set of benefits and drawbacks.
Here’s a handy table to help you navigate the different types of insulation:
| Type | Description |
| Fiberglass Batts | Economical and easy to install, but may not be as effective in extreme temperatures. |
| Cellulose | Eco-friendly and fire-resistant, but can be more expensive than fiberglass. |
| Spray Foam | Highly effective, but can be costly and requires special equipment. |
| Radiant Barrier | Reflects heat rather than absorbs it, ideal for attics and crawl spaces. |
Let’s now go back to determining types of insulation. While you’re sorting through the choices, remember that there are pros and cons associated with each kind. In deciding about this issue there will probably be factors such as cost consideration, and prevailing weather conditions among others including own happiness which will warrant such decisions.
- Fiberglass batts are a good choice for DIYers on a budget.
- Cellulose is ideal for those looking for an eco-friendly option.
- Spray foam is perfect for those who want top-notch performance.
- A radiant barrier is great for attics and crawl spaces.
- Assume that you’ll need to read reviews and do your research before making a final decision.
Types of insulation, you see, are like different characters in a Mark Twain novel – each one has its own unique personality and quirks. And just like how you need to understand the characters to appreciate the story, you need to understand the different types of insulation to make an informed decision.
- Fiberglass batts are like the trusty sidekick – reliable and affordable.
- Cellulose is like the eco-warrior – passionate and dedicated to the cause.
- Spray foam is like the high-achiever – top-notch performance and a bit of a show-off.
- Radiant Barrier is like the quiet genius – unassuming but highly effective.
- Assume that you’ll need to find the right character for your insulation story.
Getting Started
Let’s now go back to determining types of insulation. While you’re sorting through the choices, remember that there are pros and cons associated with each kind. In deciding about this issue there will probably be factors such as cost consideration, and prevailing weather conditions among others including own happiness which will warrant such decisions.
Unpacking and Organizing Insulation
To begin, carefully unpack your Grand River Insulation materials from their packaging, taking care not to damage the product. Organize the insulation batts, gloves, and other accessories in a clean, dry area, making it easy to access what you need as you go.
Wearing Protective Gear
The most important thing you can do before starting this project is to protect yourself from the itchy, scratchy fibers of the insulation. You don’t want to end up looking like a walking dust bunny, do you?
Plus, wearing protective gear like gloves, safety goggles, and a dust mask will also safeguard your health from inhaling those pesky fibers. Trust me, your skin and lungs will thank you later. So, take a few minutes to suit up before submerging into the installation process.
Cutting Insulation to Size
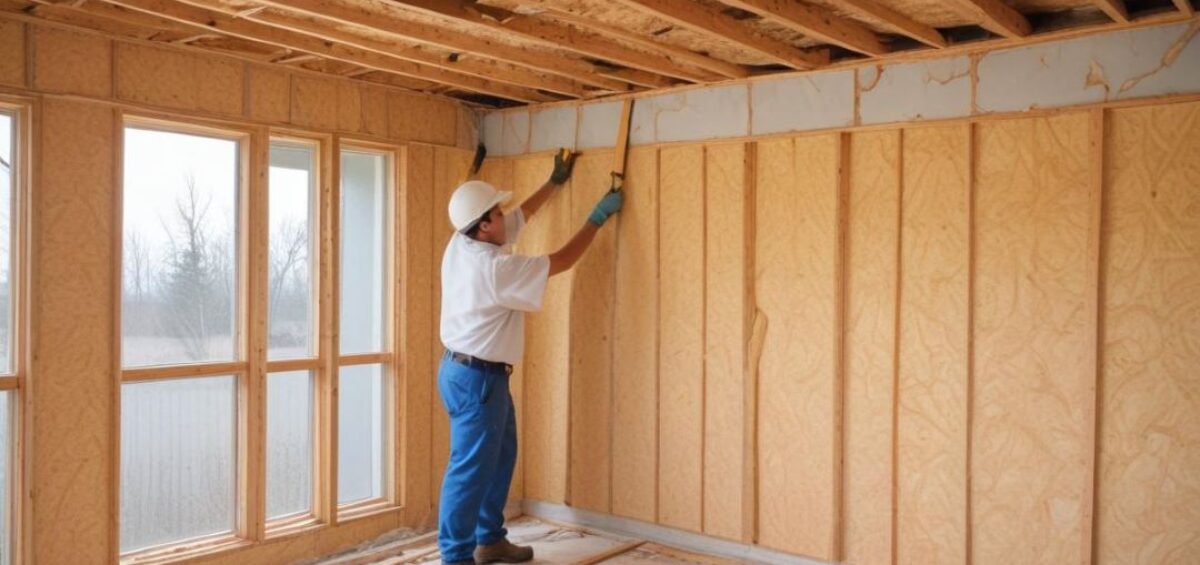
Insulation shears at the ready! You’ll need to trim those batts to fit snugly between studs, around obstructions, and into tight spaces. Don’t worry, it’s easier than trying to stuff a pillow into a pillowcase – just measure twice, cut once, and you’re golden!
Fitting Insulation into Place
On goes the insulation, like a warm hug for your walls! Make sure to wear those gloves and a dust mask, or you might end up looking like a ghostbuster.
A crucial aspect of fitting insulation is ensuring it’s not compressed, which can reduce its effectiveness. You want it to be nice and fluffy, like a freshly laundered towel. So, take your time, and gently guide it into place.
Securing Insulation with Fasteners
The final step in this insulation installation dance is securing everything with fasteners. You don’t want your hard work to come undone, like a loose button on a favorite shirt!
Plus, remember to follow the manufacturer’s instructions for fastener spacing and type. You wouldn’t want to end up with a wonky installation that’s more trouble than it’s worth. With a little patience and attention to detail, you’ll be basking in the warmth and energy efficiency of your newly insulated space in no time!
Working Around Obstacles
Despite the best-laid plans, obstacles will inevitably arise when installing Grand River insulation. Worry not! My friend, I will help you resolve any obstacles that often arise during the installation process.
Insulating Around Electrical Outlets
Around every electrical outlet, you’ll need to create a gap in the insulation to ensure safe and easy access. Simply cut a hole in the insulation material, making sure to leave enough room around the outlet for comfortable installation.
Insulating Around Plumbing Fixtures
One of the trickiest areas to insulate is around plumbing fixtures like pipes and water heaters. You’ll need to carefully wrap insulation around these fixtures, taking care not to compress or damage them.
A key consideration when insulating around plumbing fixtures is ensuring that the insulation material is compatible with the type of pipe or fixture you’re working with. Be sure to check the manufacturer’s recommendations before proceeding.
Insulating Around Windows and Doors
Outlets and switches aren’t the only obstacles you’ll encounter – windows and doors require special attention too. When insulating around these areas, make sure to seal any gaps or cracks to prevent heat loss and air leaks.
Insulating around windows and doors may require some finesse, but the benefits are substantial. By sealing these areas tightly, you can achieve improved energy efficiency and a more comfortable living environment, effectively preventing cold air from entering. Take your time and allow yourself the freedom to ensure thorough insulation!
Finishing Touches
After you’ve installed the Grand River Insulation, it’s time to put on the finishing touches to ensure a job well done.
Trimming Excess Insulation
The excess insulation that’s sticking out from the walls or ceiling needs to be trimmed to fit snugly in place. Use a utility knife or insulation cutter to trim the excess, making sure to wear protective gloves and eyewear.
Sealing Gaps and Cracks
Sealing gaps and cracks around windows, doors, and electrical outlets is crucial to prevent heat from escaping.
To ensure a tight seal, use a caulk gun to apply a bead of sealant around these areas. This will help you save energy and reduce your utility bills.
Cleaning Up the Workspace
To maintain a clean and safe workspace, it’s essential to remove all debris, dust, and insulation scraps from the area. Trimming excess insulation can be messy, so take your time to clean up thoroughly. Use a vacuum cleaner or a broom to sweep away any remaining debris, and make sure to dispose of it properly
Frequently Asked Questions (FAQ)
Q: What tools and materials do I need to install Grand River Insulation?
A: You’ll need a utility knife, measuring tape, gloves, safety glasses, and a dust mask. Additionally, have a caulk gun and sealant for sealing gaps and cracks.
Q: How do I determine the amount of insulation needed for my project?
A: Measure the square footage of your attic, walls, and floors. Consult the manufacturer’s guidelines for the recommended R-value to calculate the amount of insulation required.
Q: What protective gear should I wear when installing insulation?
A: Always wear gloves, safety glasses, and a dust mask to protect yourself from the fibers of the insulation material and prevent injury.
Q: How do I insulate around electrical outlets and plumbing fixtures?
A: Cut a gap in the insulation material around electrical outlets and carefully wrap insulation around plumbing fixtures without compressing or damaging them. Ensure the insulation material is compatible with the type of pipe or fixture.
Q: What should I do if there are gaps or cracks around windows and doors after insulation?
A: Use a caulk gun to apply a bead of sealant around windows, doors, and electrical outlets to seal any gaps or cracks. This helps prevent heat loss and improves energy efficiency.
Conclusion
Upon reflecting on the journey we’ve taken together, I reckon you’re now equipped with the know-how to install Grand River insulation like a pro! You’ve navigated the twists and turns of preparation, measurement, and installation, and emerged victorious on the other side. Pat yourself on the back, friend, because you’ve earned it. Recall, that a job well done is its reward, and with your newfound skills, you’ll be basking in the warmth and comfort of your well-insulated home in no time.
